Mastering Tender & Crispy Carnitas: Your Ultimate Make-Ahead Meal Prep Guide
Imagine having a batch of succulent, fall-apart pork at your fingertips, ready to transform into countless delicious meals throughout the week. That's the magic of carnitas, and specifically, the brilliance of make ahead carnitas. This isn't just another pork recipe; it's a foundational cooking skill that empowers the home cook, turning dinner-time dilemmas into effortless culinary triumphs. Whether you're a seasoned chef or just starting your journey in the kitchen, learning how to prepare this versatile braised pork will revolutionize your meal planning, promising tender, flavorful results every single time, with that irresistible crispy finish.Why Make Ahead Carnitas Are a Game-Changer for Busy Households
Life moves fast, and often, the biggest hurdle to enjoying home-cooked meals is time. This is precisely where the concept of make ahead carnitas shines. By dedicating a couple of hours upfront, you create a strategic reserve of flavorful, pre-cooked meat that can be easily repurposed. Think about it: no more frantic scrambling for dinner ingredients after a long day. With a container of perfectly braised pork in your fridge, you're just minutes away from a satisfying meal. This approach isn't just about saving time; it's about reducing stress and enhancing the quality of your family's meals. As many busy parents can attest, having a readily available, delicious protein source can prevent those "mommy meltdowns" or "hanger-induced" panic attacks. It allows for spontaneous dinner gatherings, effortless weeknight dinners, and even gourmet-level breakfasts without the usual culinary rush. Unlike some other cooked meats that lose their appeal when reheated, carnitas only get better. The slow-cooked flavor deepens, and the re-crisping process brings them back to life with an incredible texture that makes them a weekly staple in many households. For more insights on this time-saving strategy, check out Make Ahead Carnitas: The Time-Saving Secret for Home Cooks.The Art of Perfect Carnitas: Achieving Both Tenderness and Crispiness
The secret to truly exceptional carnitas lies in a two-stage cooking process: slow braising for ultimate tenderness, followed by a quick crisping for that signature textural contrast. Our recipe focuses on simplicity and technique to deliver restaurant-quality results right in your own kitchen.Ingredients for Your Batch of Make Ahead Carnitas:
- 1500 g (approximately 3 lbs) boneless pork shoulder (pork butt)
- 15 g salt (approximately 1% of the pork's weight)
- Water, as needed
Step-by-Step Method:
- Prep the Meat: Start by cutting your boneless pork shoulder into manageable cubes, roughly 1 inch (3 cm) wide. This size is ideal because it allows for even cooking during the braising stage and provides ample surface area for crisping later. Once cubed, season the meat generously and evenly with salt. For precision, weigh your pork and add 1% of its weight in salt (e.g., 1500 g pork = 15 g salt). This ensures perfect seasoning every time. Transfer the salted pork chunks to a sturdy braising pot or Dutch oven.
- Cover with Water & Bring to a Simmer: Pour enough water into the pot to just barely cover the pork pieces. This minimal amount of liquid is crucial, as it allows the pork to braise effectively while also encouraging the fat to render and the liquid to evaporate efficiently. Place the pot on medium-high heat and bring the water to a rolling boil. Once boiling, reduce the heat to medium-low, so the pot is just gently simmering. A gentle simmer is key to breaking down tough connective tissues without drying out the meat.
- Braise Until Tender: Let the pork continue to simmer, *uncovered*, stirring occasionally to prevent sticking and ensure even cooking. The "uncovered" part is vital because it allows the water to gradually evaporate, concentrating the flavors and leaving behind a rich, rendered fat. This braising process typically takes at least an hour, but can vary.
As the liquid reduces, keep an eye on the pork. Once the water has completely evaporated, check the texture of the meat. A truly tender piece of carnitas should be easily pulled apart with a fork, practically falling apart. If your pork is still tough and resistant, don't worry! Simply add a bit more water (just enough to barely cover again) and continue simmering until it reaches that desired fork-tender consistency. Once done, you'll find a beautiful layer of golden, rendered fat at the bottom of the pot. This liquid gold is not waste; it's essential for the next step.
- Shred & Crisp Your Carnitas: Now comes the glorious part – transforming tender pork into crispy perfection. This is also where your make ahead carnitas strategy comes into play.
- If serving immediately: With the rendered fat still in the pot, continue cooking the chunks of pork over medium-high heat. Stir frequently, allowing the pieces to brown and crisp up on all sides. Once beautifully golden and crisp, remove from the pot. You can then chop the pork into smaller pieces or shred it using two forks, your hands, or even a mortar and pestle for very fine shreds, and serve immediately with your favorite accompaniments.
- If saving for later (the make-ahead method): Remove the tender pork from the pot and let it cool slightly. Carefully reserve all the rendered fat in a separate container. Shred the warm pork chunks using your hands or two forks – it should be incredibly easy to pull apart. Alternatively, for a more traditional texture, bash a handful of pork chunks at a time in a mortar and pestle to create those classic fine shreds. Store the shredded carnitas in an airtight container in the fridge, ideally with a spoonful or two of the reserved fat to keep it moist and flavorful. When ready to serve, simply heat a pan with some of the reserved fat and sear the carnitas until beautifully browned and crispy. This re-crisping step is what makes Make-Ahead Crispy Carnitas: Your Easy Weeknight Dinner Solution truly spectacular!
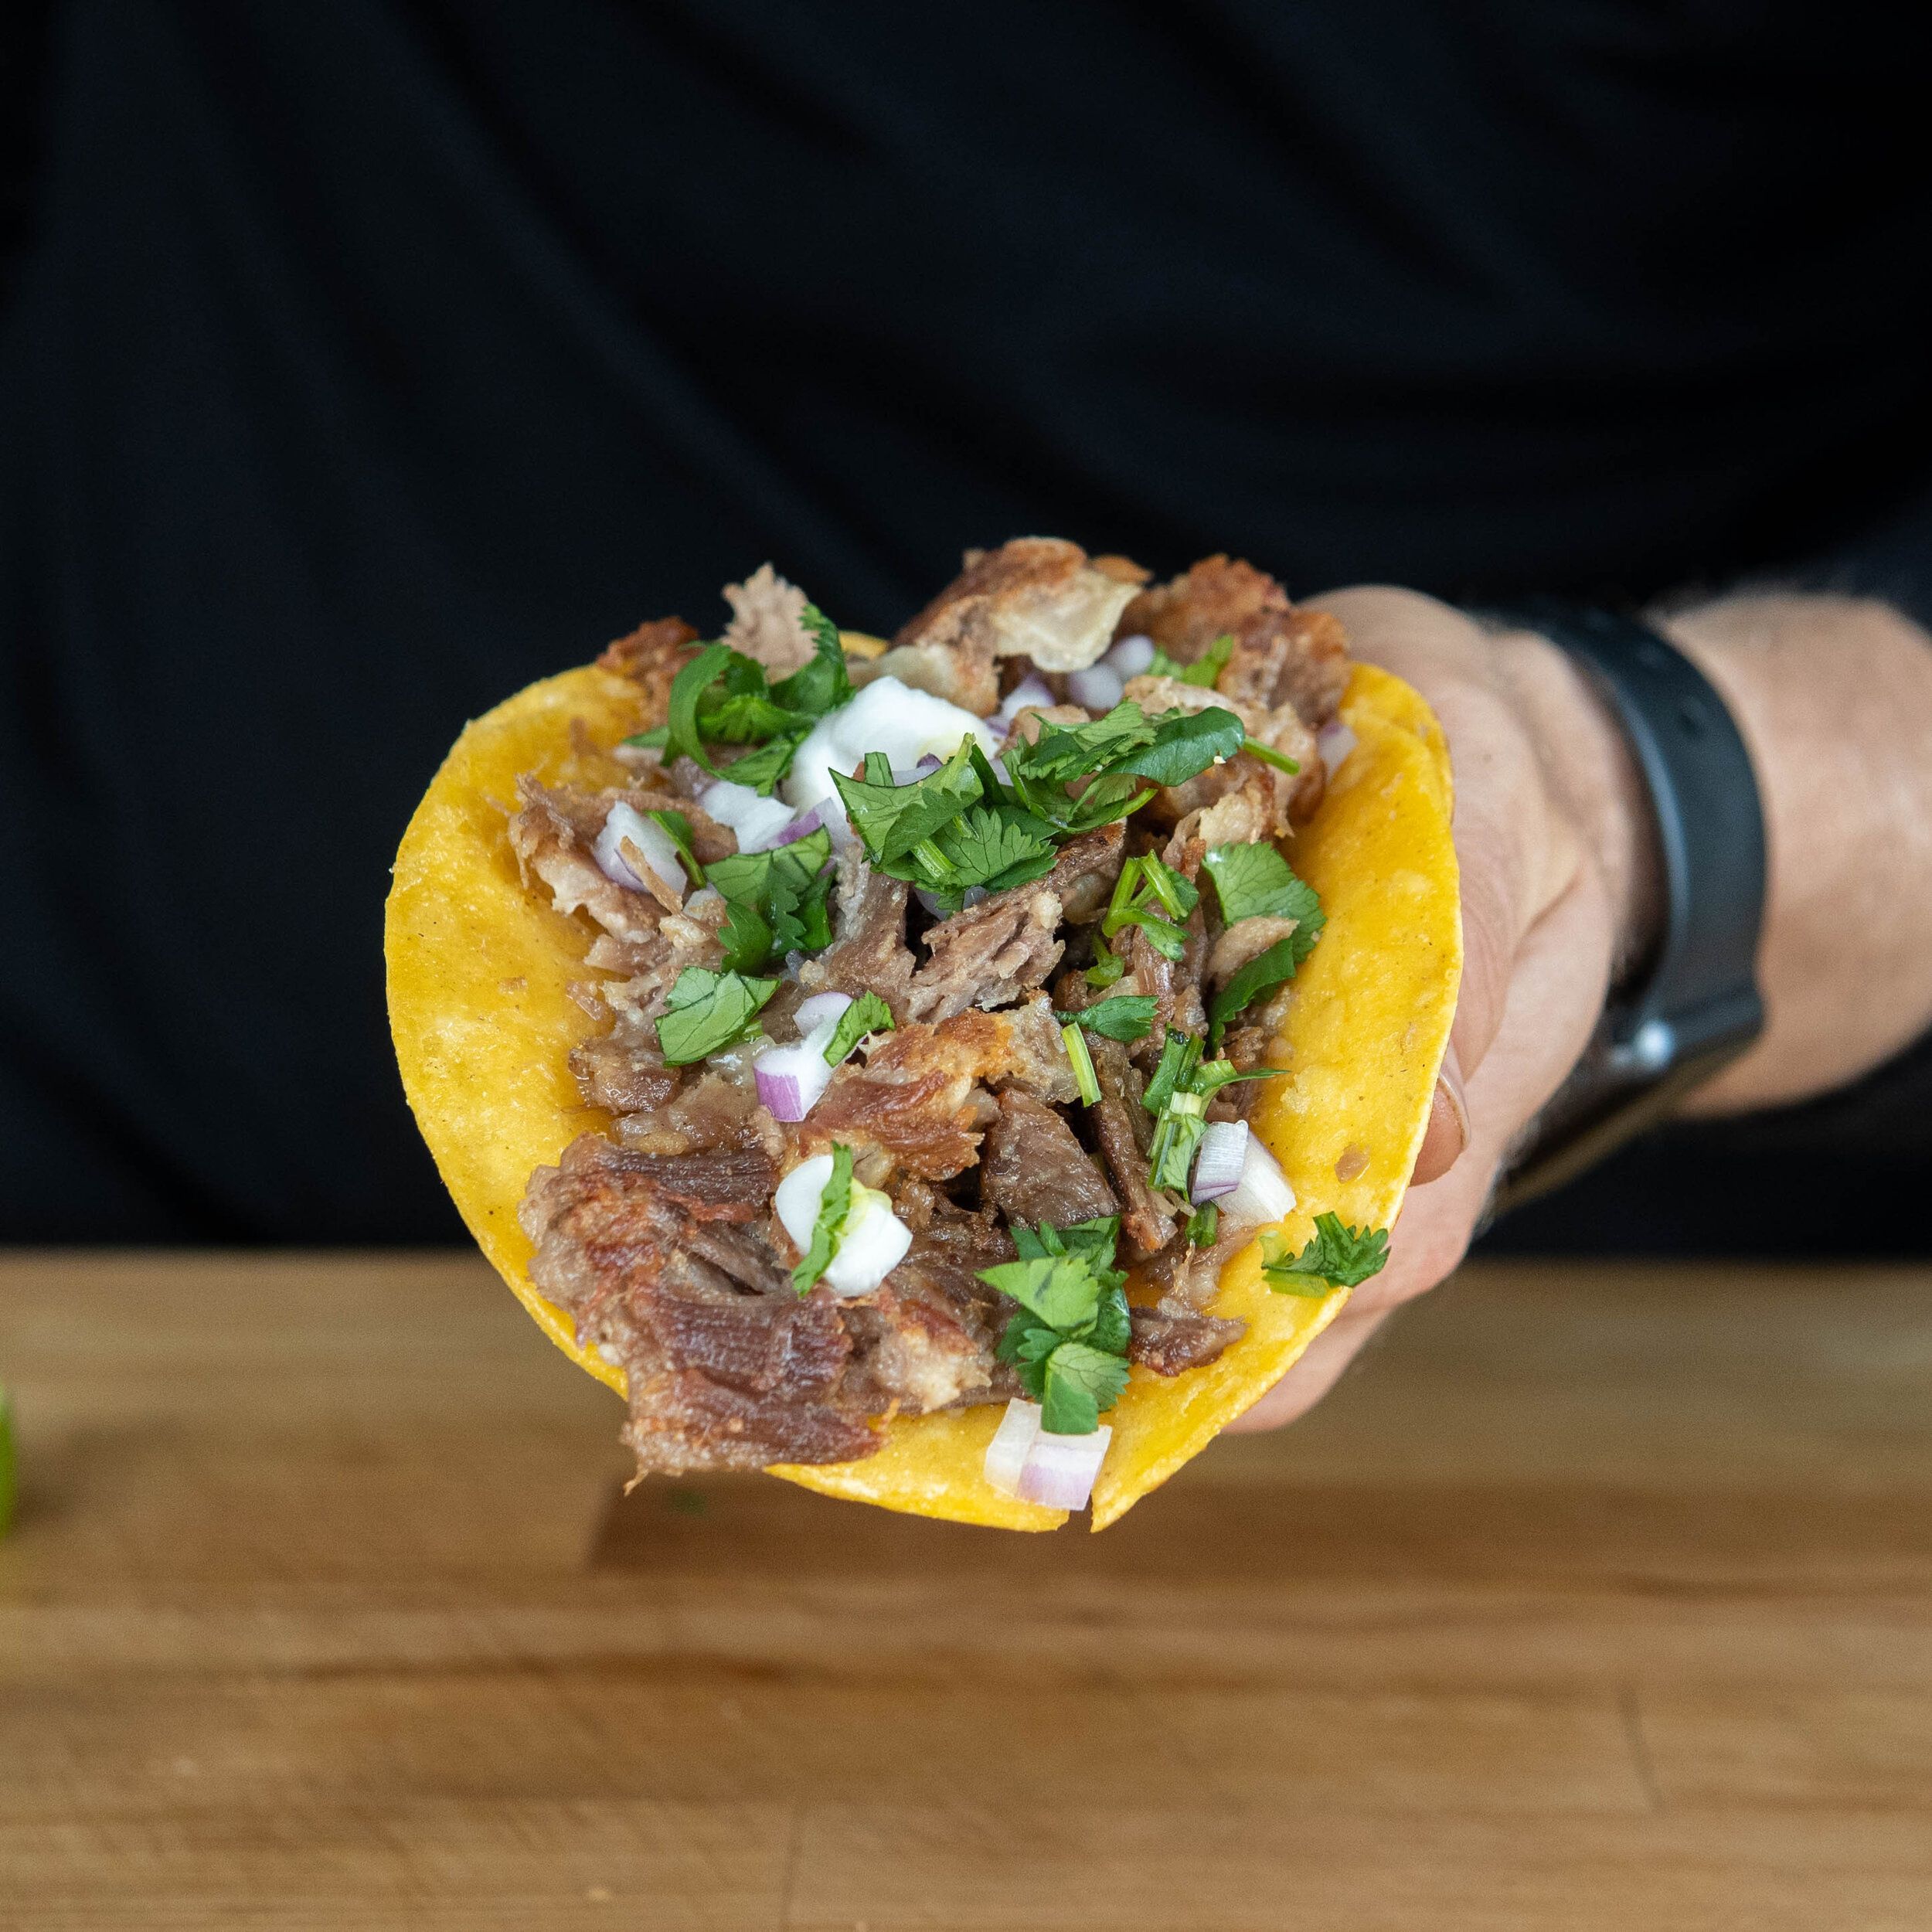
Beyond the Taco: Creative Ways to Enjoy Your Versatile Carnitas
While carnitas tacos are undeniably a classic, the beauty of having a batch of make ahead carnitas is its incredible versatility. This tender, flavorful pork can elevate almost any meal.- Breakfast Hash: Combine crispy carnitas with roasted potatoes, onions, and a fried egg for a hearty breakfast or brunch.
- Rice Bowls: Create vibrant bowls with cilantro-lime rice, black beans, corn salsa, avocado, and a generous topping of carnitas.
- Salads: Add a protein punch to your greens. Carnitas pair wonderfully with crunchy lettuce, pico de gallo, cheese, and a zesty vinaigrette.
- Nachos & Quesadillas: Layer carnitas onto tortilla chips with melted cheese and jalapeños, or tuck them into quesadillas for a quick and satisfying snack or meal.
- Burritos & Enchiladas: Wrap them in tortillas with your favorite fillings for a portable meal, or roll them into enchiladas smothered in sauce and cheese.
- Sandwiches & Sliders: Pile crispy carnitas onto a toasted bun with coleslaw or pickled onions for a mouthwatering sandwich.
- Stuffed Peppers or Sweet Potatoes: For a healthier option, stuff bell peppers or baked sweet potatoes with carnitas and your choice of toppings.
